How to Build a Custom PC: A Comprehensive Guide
Are you tired of settling for pre-built computers that don’t quite meet your needs? Do you crave the satisfaction of building your own machine from scratch? If so, you’re in the right place. Building a custom PC can be a rewarding and cost-effective way to create a computer that perfectly suits your requirements. In this guide, we will dive deep into the world of custom PC building, exploring everything from selecting components to assembling your machine. So, grab your screwdriver and let’s get started!
1. Planning Your Build
Before you start purchasing components, it’s crucial to plan out your build carefully. Consider what you will be using the PC for – whether it’s gaming, multimedia editing, or everyday tasks. This will help you determine the ideal balance of components to meet your needs without overspending.
Make a list of the essential components you’ll need, such as the CPU, GPU, RAM, storage, motherboard, power supply, and case. Research each component carefully to ensure compatibility and optimal performance. Websites like PCPartPicker can help you create a detailed list of parts and check for any potential issues.
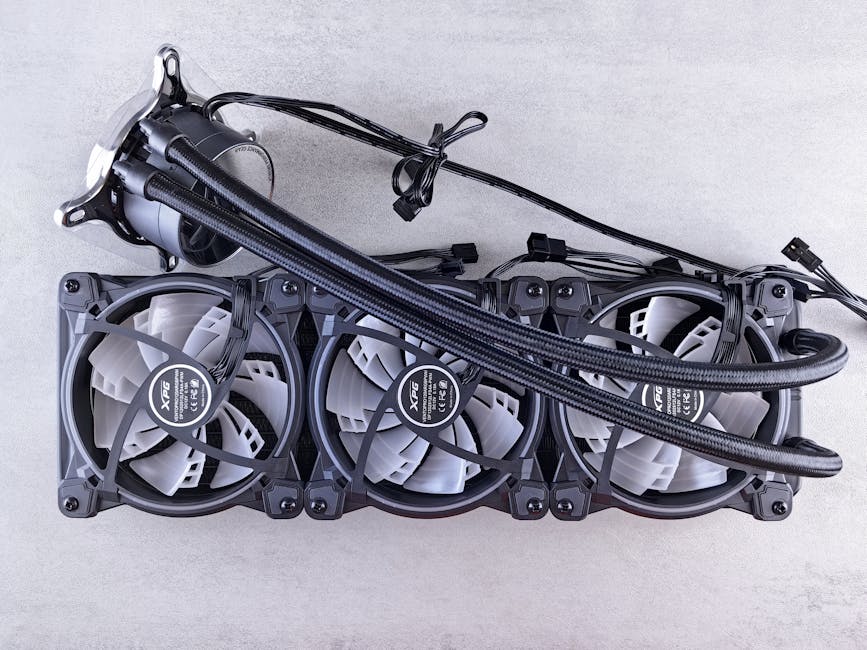
Set a budget for your build and try to stick to it. Remember, building a custom PC can be cost-effective, but costs can quickly add up if you’re not careful. Leave some wiggle room for unexpected expenses like cables or additional cooling solutions.
2. Choosing the Right Components
When selecting components for your custom PC, it’s essential to strike a balance between performance, compatibility, and budget. Here are some key components to consider:
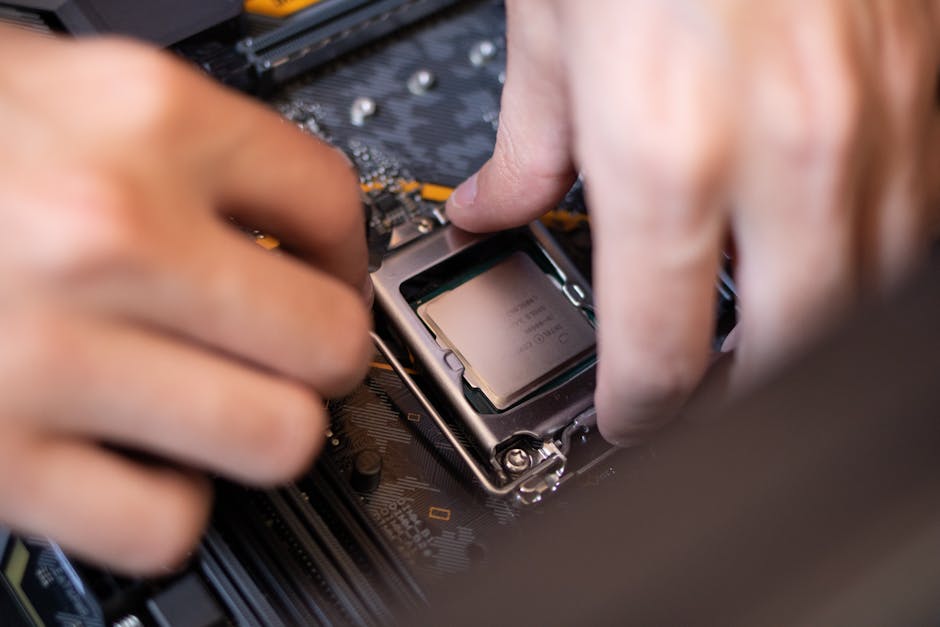
CPU (Central Processing Unit)
The CPU is the brain of your computer and plays a crucial role in determining overall performance. Consider factors like the number of cores, clock speed, and compatibility with your motherboard. Popular choices include processors from AMD and Intel.
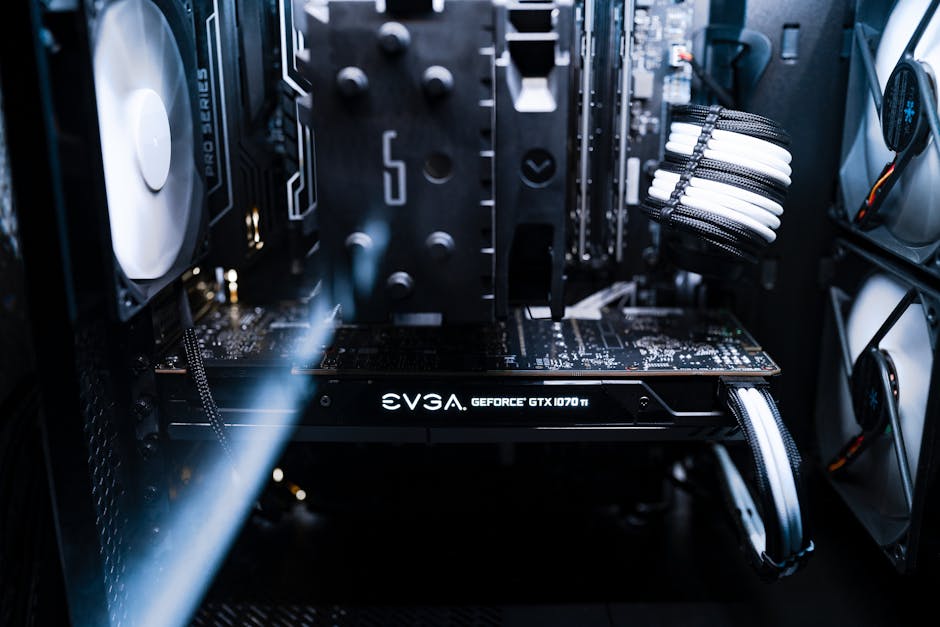
GPU (Graphics Processing Unit)
The GPU is responsible for rendering images and videos on your screen. If you’re a gamer or work with graphic-intensive applications, investing in a high-quality GPU is essential. Look for GPUs from manufacturers like NVIDIA and AMD.
RAM (Random Access Memory)
RAM is used to store data that the CPU needs quickly. The amount of RAM you need depends on your usage – for most users, 16GB is a good starting point. Ensure that your RAM is compatible with your motherboard and CPU.
Storage
There are several types of storage options available, including SSDs (Solid State Drives) and HDDs (Hard Disk Drives). SSDs offer faster boot times and application loading, while HDDs provide more storage space at a lower cost. Consider a combination of both for optimal performance and storage capacity.
Motherboard
The motherboard is the backbone of your PC, connecting all your components together. Ensure that your motherboard is compatible with your CPU and has the necessary features for your build, such as sufficient RAM slots and expansion slots.
Power Supply
The power supply unit (PSU) provides electricity to your components. Choose a PSU with enough wattage to power your PC comfortably, with room for future upgrades. Modular PSUs allow you to connect only the cables you need, reducing clutter.
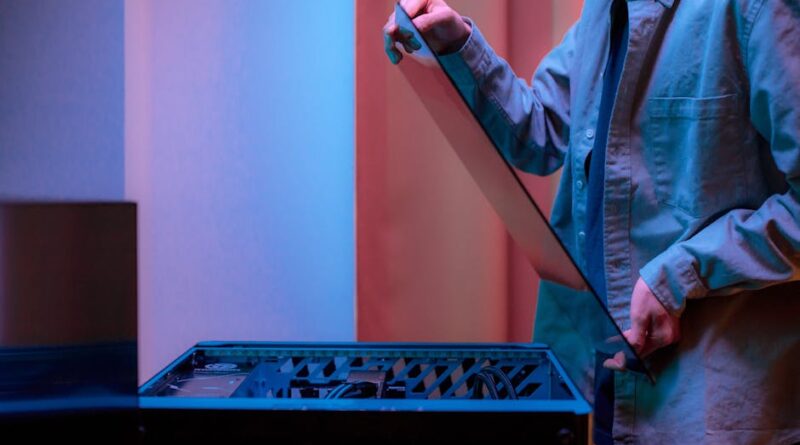
Case
The case houses all your components and determines the overall look of your PC. Consider factors like size, airflow, cable management, and aesthetics when choosing a case. Look for features like dust filters, ample room for cable management, and support for your chosen components.
3. Assembling Your Custom PC

Once you have all your components ready, it’s time to start building your custom PC. Here’s a step-by-step guide to help you through the process:
1. Prepare Your Workspace
Find a clean, well-lit workspace with plenty of room to spread out your components. Consider using an anti-static mat or wrist strap to prevent damage from static electricity.
2. Install the CPU and RAM
Start by installing the CPU into the motherboard socket, following the manufacturer’s instructions. Next, install your RAM into the appropriate slots on the motherboard. Be sure to seat the components firmly but gently to avoid damage.
3. Install the Motherboard
Install the motherboard into the case, aligning the screw holes with the standoffs. Use the screws provided with your case to secure the motherboard in place. Connect the necessary cables, such as the power switch, reset switch, and front panel connectors.
4. Install the GPU and Storage
Install the GPU into the PCIe slot on the motherboard, securing it with screws. Next, install your storage drives – SSDs and HDDs – into the drive bays or M.2 slots on the motherboard. Connect the necessary power and data cables to the drives.
5. Install the Power Supply
Install the power supply unit into the case, ensuring that the fan faces the bottom or top of the case for proper airflow. Connect the necessary power cables to the motherboard, GPU, and storage drives. Tidy up the cables using cable ties for better airflow and aesthetics.
6. Cable Management and Final Touches
Organize your cables neatly to improve airflow and aesthetics inside your case. Close up the case and connect all peripherals, such as your monitor, keyboard, and mouse. Power on your PC and follow the manufacturer’s instructions to install your operating system.
4. Expert Tips for Building a Custom PC
Building a custom PC can be a challenging but rewarding experience. Here are some expert tips to help you through the process:
1. Research, Research, Research
Take the time to research each component thoroughly before making a purchase. Read reviews, watch video guides, and ask for advice from experienced builders. This will help you make informed decisions and avoid compatibility issues.
2. Take Your Time
Building a custom PC is not a race – take your time to assemble your components carefully. Rushing through the process can lead to mistakes that may damage your components or affect performance. Enjoy the process and savor the satisfaction of building your PC.
3. Test Your Components
Before fully assembling your PC, test each component individually to ensure they are functioning correctly. This includes testing the CPU, GPU, RAM, and storage drives. This can help you identify any faulty components before completing the build.
4. Stay Organized
Keep track of your screws, cables, and components throughout the build process. Consider using small containers or bags to organize your screws and labels to identify cables. This will save you time and frustration when assembling your PC.
5. Common Misconceptions About Building a Custom PC
Building a custom PC can seem daunting, but many misconceptions surround the process. Here are some common myths about building a custom PC:
Myth: Building a PC is Too Complicated
While building a custom PC requires some technical knowledge, it is not as complex as it may seem. With the right research and preparation, anyone can build a custom PC from scratch. There are plenty of resources available online to guide you through the process.
Myth: Building a PC is Expensive
Building a custom PC can actually be more cost-effective than purchasing a pre-built machine. By selecting individual components based on your needs and budget, you can save money and avoid paying for features you don’t need. Plus, you can upgrade your PC over time, further extending its lifespan.
Myth: Pre-Built PCs are Better
While pre-built PCs offer convenience, they often come with bloatware, unnecessary components, and limited upgradeability. Building a custom PC allows you to tailor your machine to your specific requirements, ensuring better performance and longevity.
6. FAQs About Building a Custom PC
Q: Do I need to have technical knowledge to build a custom PC?
A: While some technical knowledge is helpful, many resources are available online to guide you through the process. With patience and attention to detail, anyone can build a custom PC.
Q: How long does it take to build a custom PC?
A: The time it takes to build a custom PC varies depending on your experience level and the complexity of your build. For beginners, it may take a few hours to a full day to complete the build.
Q: Can I upgrade my custom PC in the future?
A: One of the key advantages of building a custom PC is the ability to upgrade individual components over time. As technology advances, you can easily swap out parts like the CPU, GPU, or storage to keep your PC up to date.
7. Conclusion
Building a custom PC is a rewarding experience that allows you to create a machine tailored to your specific needs. By carefully selecting components, assembling them with care, and following expert tips, you can build a custom PC that offers optimal performance and value. So, roll up your sleeves, gather your components, and embark on the journey of building your dream PC. Happy building!
Whether you’re a seasoned builder or a novice enthusiast, building a custom PC offers a unique sense of accomplishment and customization. From selecting components to assembling your machine, the process is both challenging and rewarding. So, if you’ve ever considered venturing into the world of custom PC building, now is the time to take the plunge. With a little research, patience, and attention to detail, you can create a computer that not only meets but exceeds your expectations. So, what are you waiting for? Start planning your custom PC build today!